
Overview
Are you ready to start writing html? This lesson will walk you through the process of creating a basic web page. By the end of the lesson, you will be able to create a file, add some basic html, save the file in the correct format, and view the file in your web browser.
Choose an editor
The first thing you need to do is choose where you are going to write your code. The good news is, you can write HTML in any basic text editor. For example, on a Mac, you can use TextEdit. On windows, you can use Notepad. This lesson will walk through the process with both of these programs. If you are working on a Mac, click here to skip to it.
Windows
If you are using a recent version of Windows, you should have Notepad installed on your machine. Locate and open the program. Once open, you can start adding your HTML. Don’t forget to begin with the doctype declaration.
<!DOCTYPE html>
Next, add the html tags. Remember, all your elements will be typed inside the opening and closing html tags.
<!DOCTYPE html>
<html>

</html>
Next, add the body tags. Notice the indentation. The body tags are inside the html tags, so we indent them in order to help keep the code organized. The reason for this will become more apparent when you start working with longer files containing numerous elements.
<!DOCTYPE html>
<html>
    <body>

    </body>
</html>
The visible elements of a web page are placed within the body tags. Let’s add a page title and subtitle. Again, notice the indentation.
<!DOCTYPE html>
<html>
    <body>
        <h1>My First Web Page</h1>
        <h2>It's a beautiful thing</h2>
    </body>
</html>
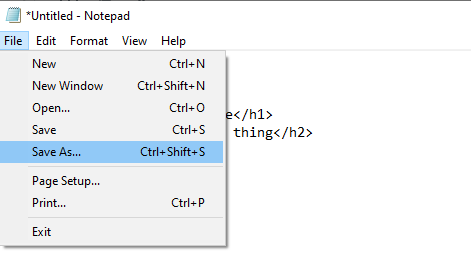
Click on File at the top of the Notepad window and choose Save As…
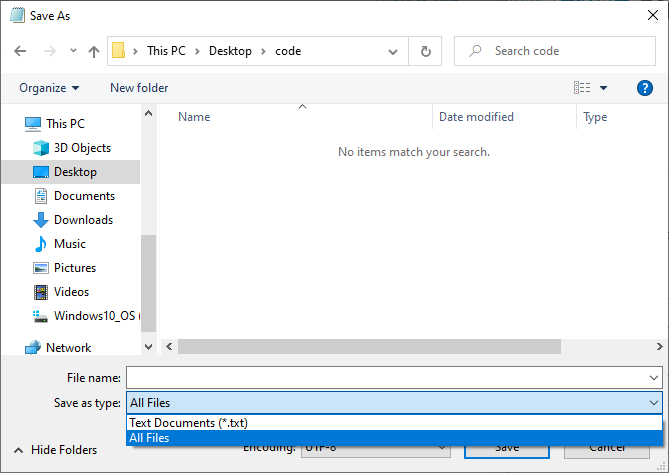
For the Save as type, make sure to select All Files.
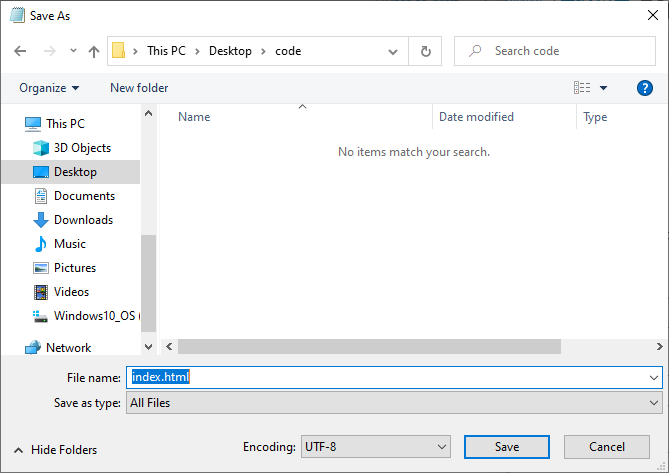
Select the location that you want to save your file. You may want to create a folder to house your code. Where it says File name, enter a name for the file, followed by the .html extension. As you can see in the example below, I saved my file as index.html in a folder named code.
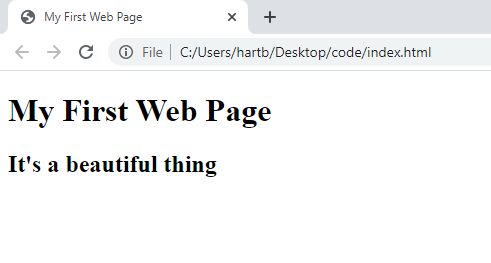
In your file system, navigate to the location of the file you just created. Double click on the file and it should automatically open in your default browser. It should look something like this.
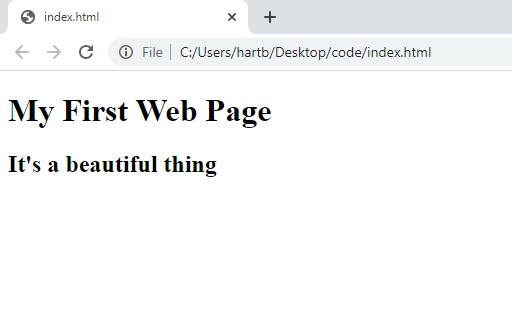
Notice the tab in the image above shows the file name. This is certainly not ideal, so let’s add one more thing to our file to change this. Open Notepad, click File, and choose open. Navigate to the location of your file. If you don’t see your file, you may have to change the file type to All Files. Double click the file to open it. Add the opening and closing head tags with the title tags between them as follows.
<!DOCTYPE html>
<html>
    <head>
        <title>My First Web Page</title>
    </head>

    <body>
        <h1>My First Web Page</h1>
        <h2>It's a beautiful thing</h2>
    </body>
</html>
Save the file and open it in your browser again. If you still have the page open, you can simply refresh the page. The tab should now display the page title that you described in the title tags.
That’s it! You have created your first web page. Continue to the next lesson to learn more.
Mac – TextEdit
If you are using a Mac, you should have access to TextEdit. Open the program. You will need to adjust a few settings to get started. Click on TextEdit at the top. Choose Preferences.

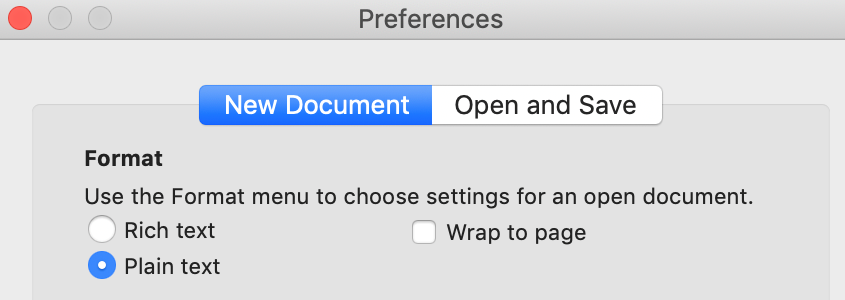
On the New Document tab, make sure to choose Plain text.
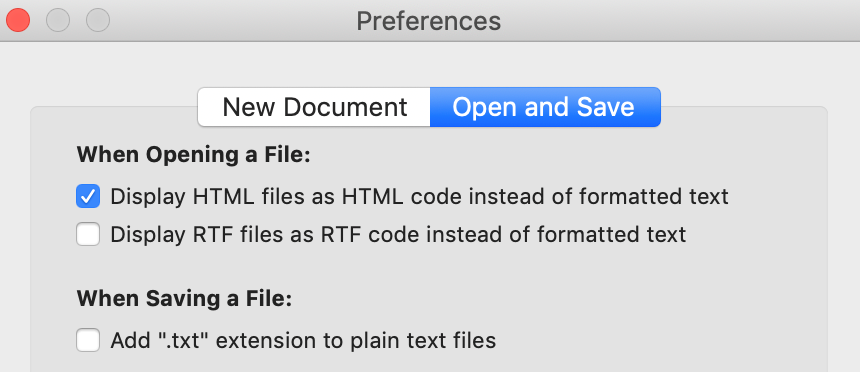
Click on the Open and Save tab. Check the box next to Display HTML files as HTML code instead of formatted text. Then, uncheck the box next to Add “.txt” extension to plain text files.
Close the Preference settings and open a new file. You are now ready to add your HTML. Begin with the doctype declaration.
<!DOCTYPE html>
Next, add the html tags. Remember, all your elements will be typed inside the opening and closing html tags.
<!DOCTYPE html>
<html>

</html>
Next, add the body tags. Notice the indentation. The body tags are inside the html tags, so we indent them in order to help keep the code organized. The reason for this will become more apparent when you start working with longer files containing numerous elements.
<!DOCTYPE html>
<html>
    <body>

    </body>
</html>
The visible elements of a web page are placed within the body tags. Let’s add a page title and subtitle. Again, notice the indentation.
<!DOCTYPE html>
<html>
    <body>
        <h1>My First Web Page</h1>
        <h2>It's a beautiful thing</h2>
    </body>
</html>
You now have a basic web page. Let’s see what it looks like. Click on File and choose Save.

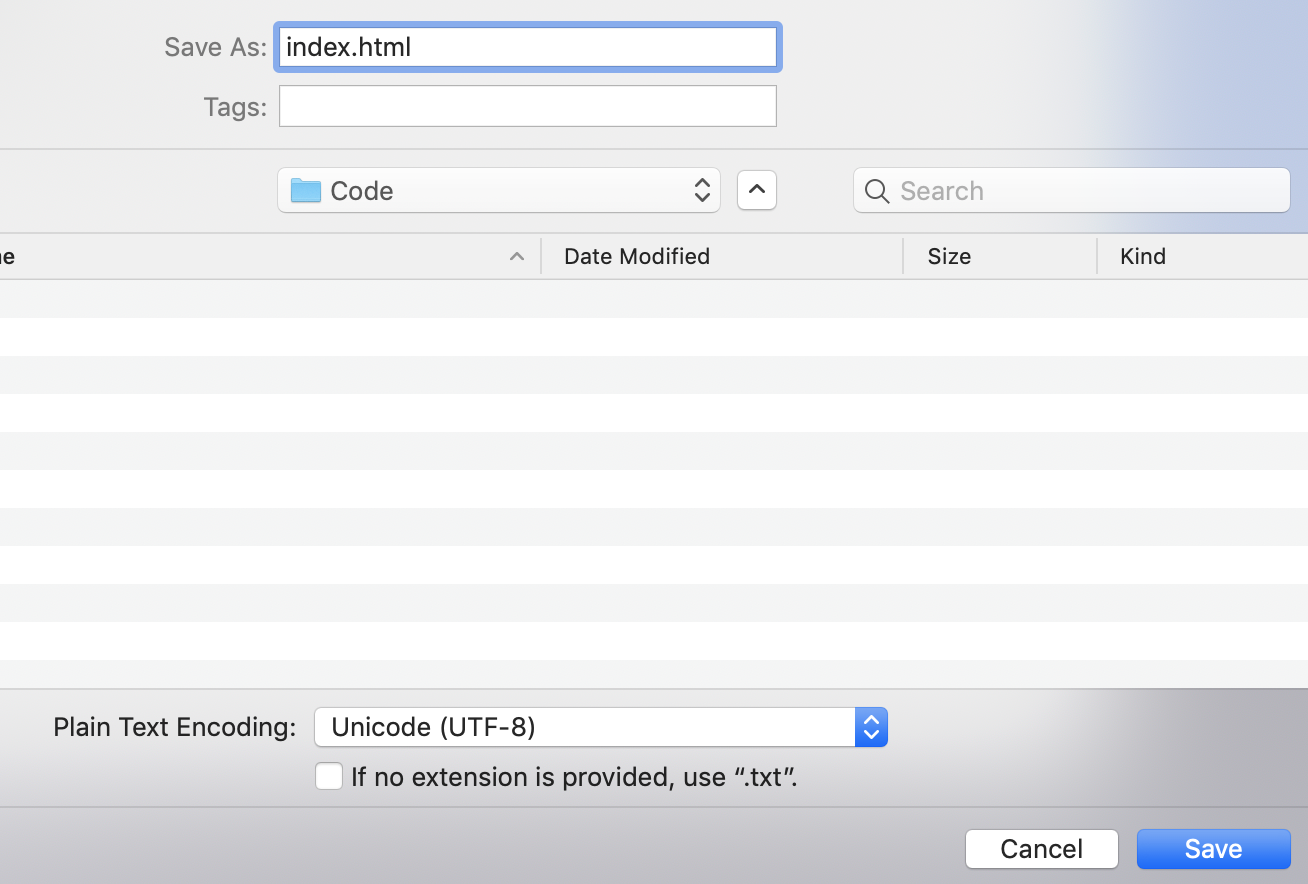
Select the location that you want to save your file. You may want to create a folder to house your code. Where it says Save As, enter a name for the file, followed by the .html extension. As you can see in the example below, I saved my file as index.html in a folder named Code.
In your file system, navigate to the location of the file you just created. Double click on the file and it should automatically open in your default browser. It should look something like this.
Notice the tab in the image above shows the file name. This is certainly not ideal, so let’s add one more thing to our file to change this. Open TextEdit, click File, and choose open. Navigate to the location of your file. Choose the file and click open. Once open, add the opening and closing head tags with the title tags between them as follows.
<!DOCTYPE html>
<html>
    <head>
        <title>My First Web Page</title>
    </head>
    <body>
        <h1>My First Web Page</h1>
        <h2>It's a beautiful thing</h2>
    </body>
</html>
Save the file and open it in your browser again. If you still have the page open, you can simply refresh the page. The tab should now display the page title that you described in the title tags.
That’s it! You have created your first web page. Continue to the next lesson to learn more.

